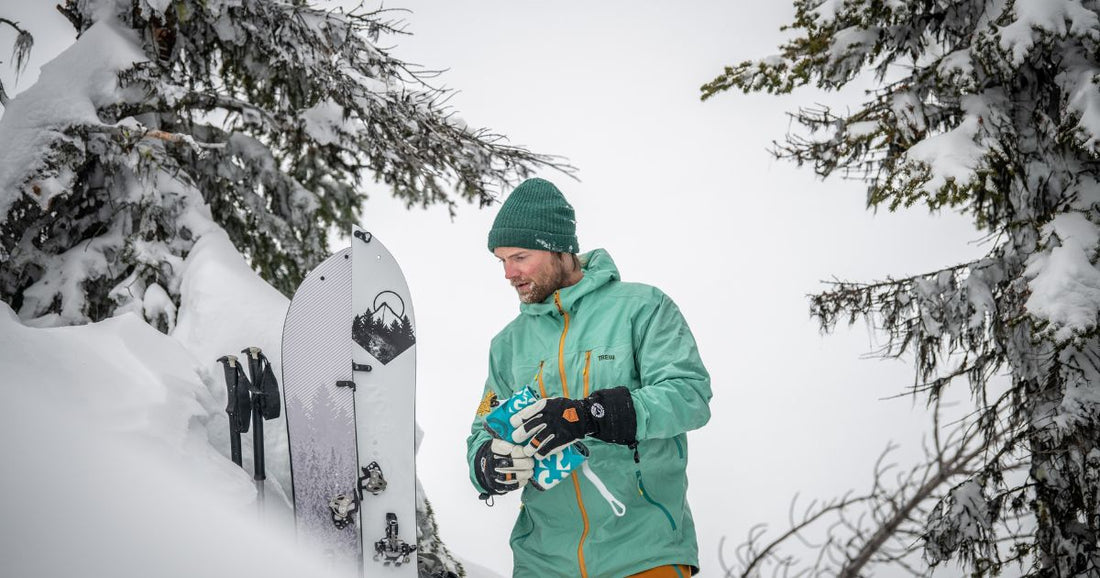
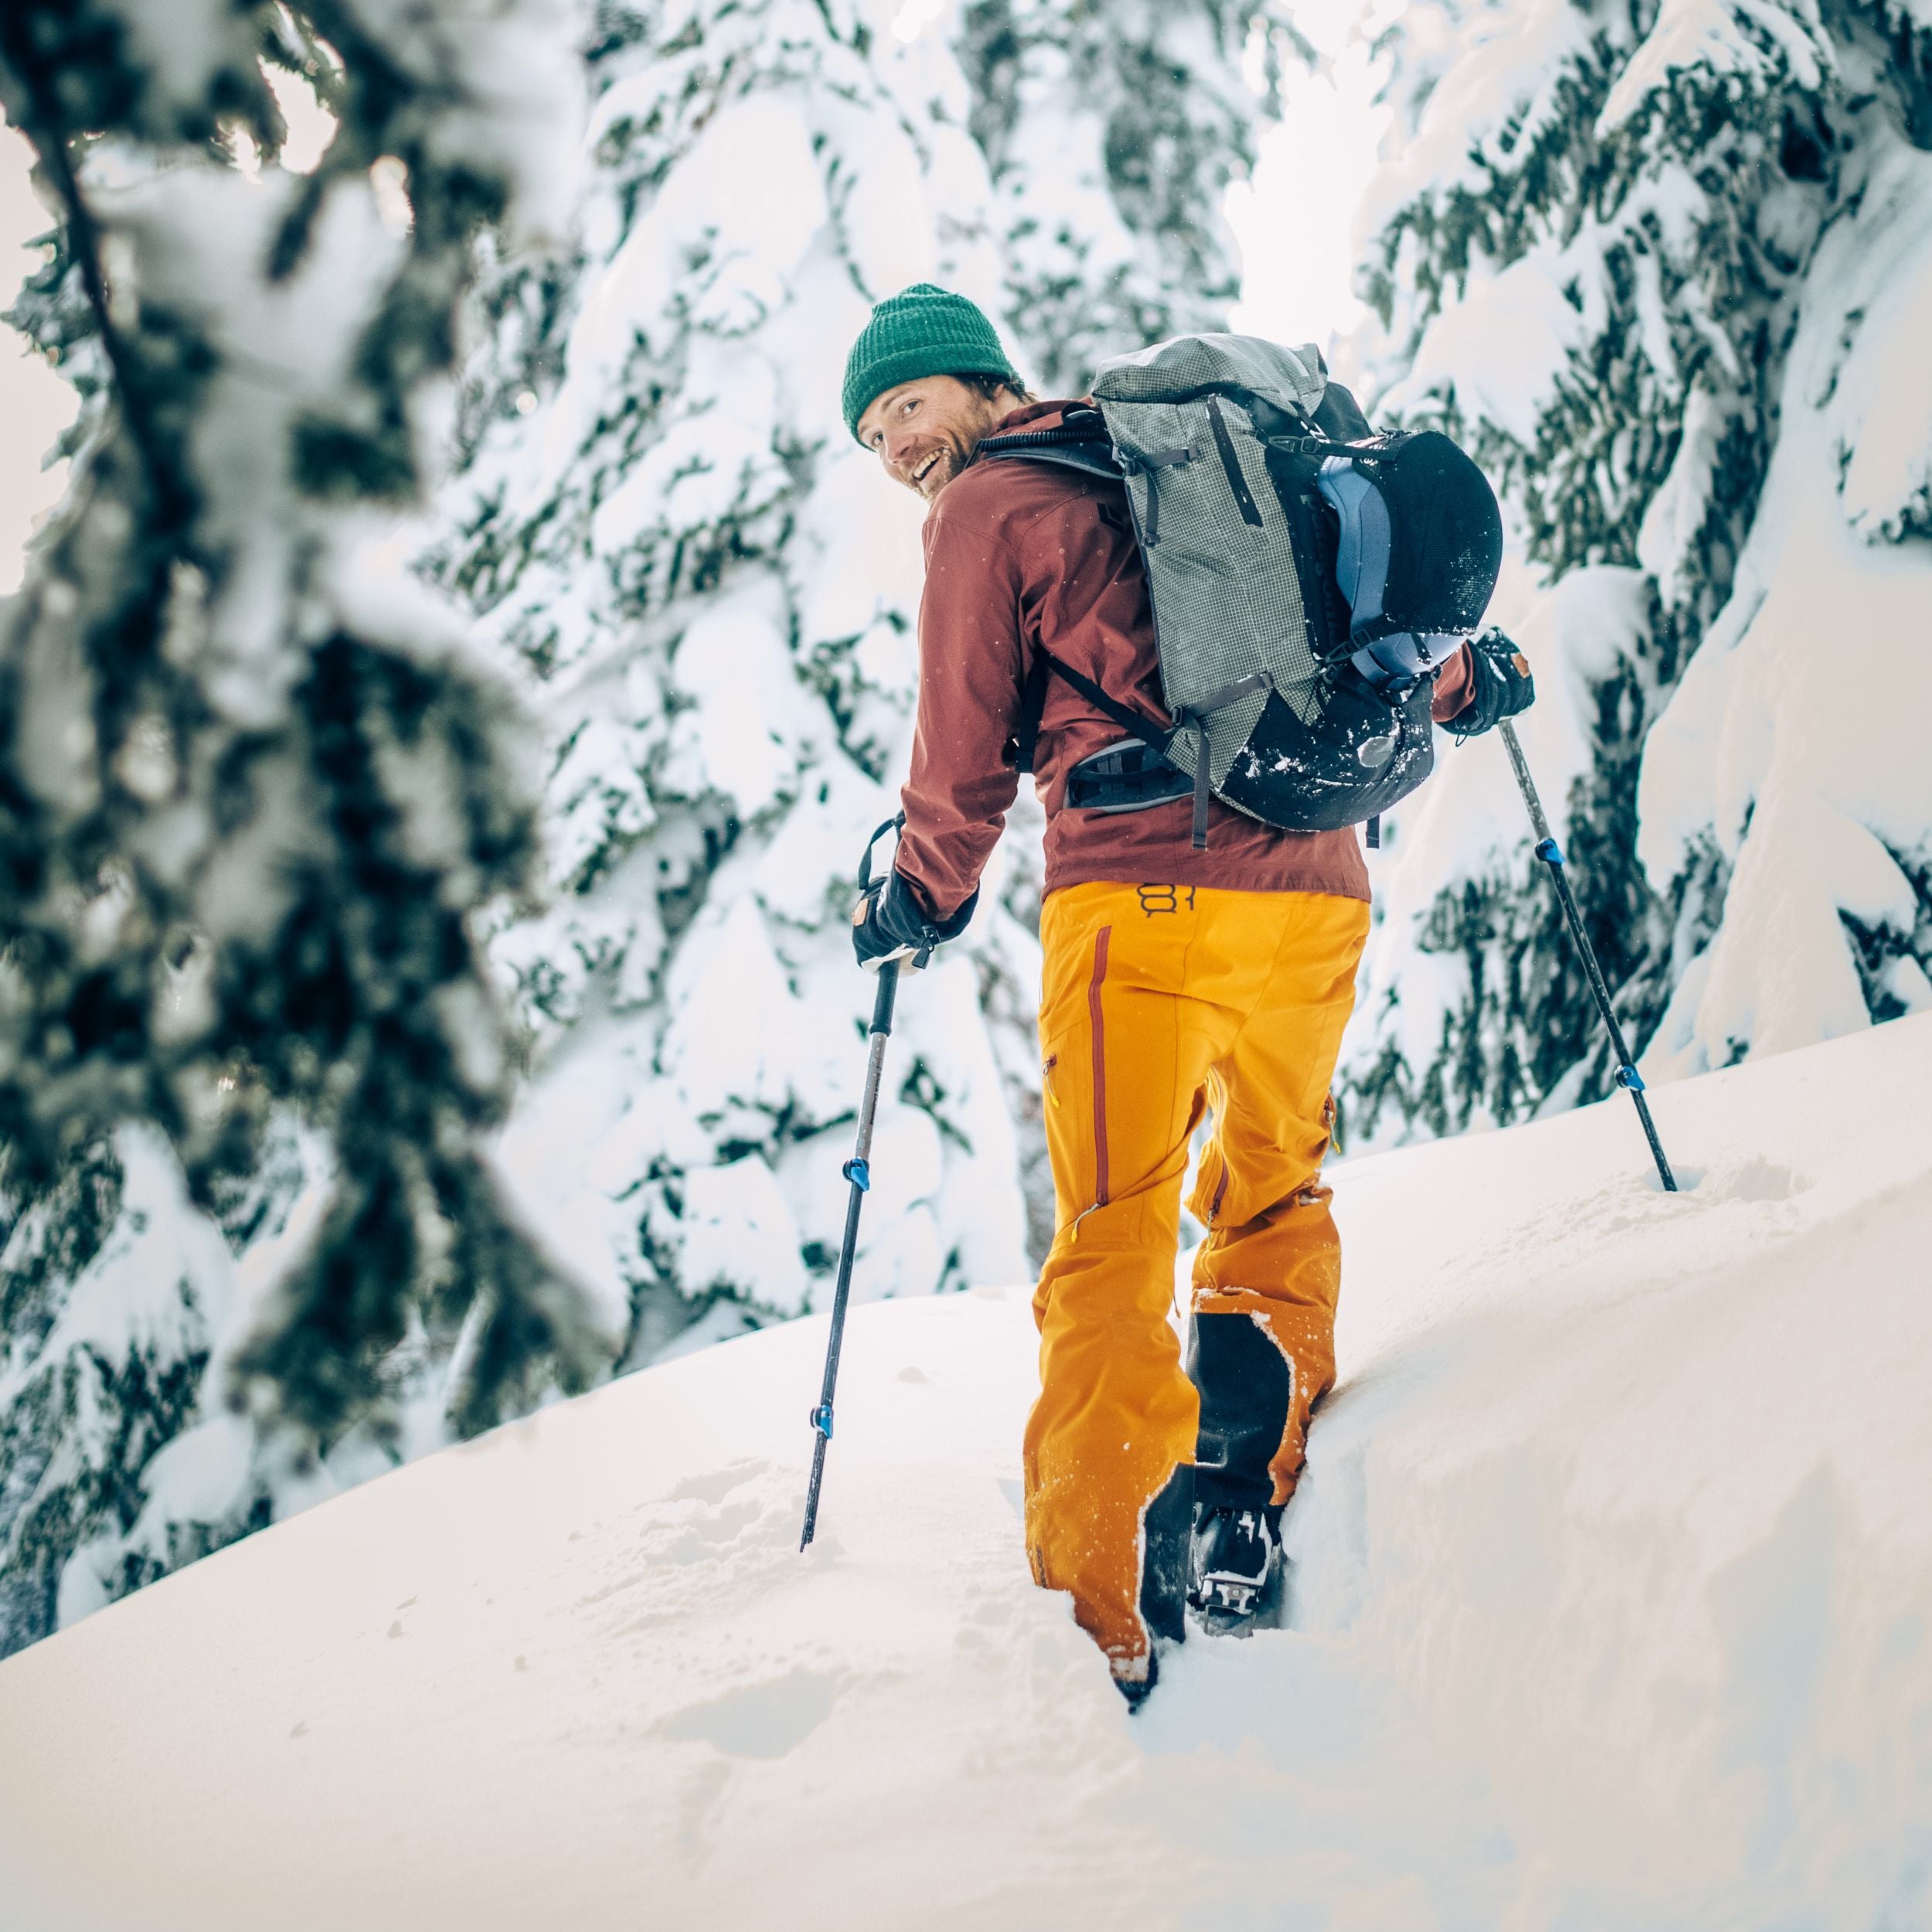
Here is your in-depth guide to splitboard specific backcountry gear recommendations straight from the pro guides themselves. Reading not your thing? WATCH THE VIDEO sponsored by CAPOW! Canadian Powder Guiding.
Contributing Expert:
- Name: Adam Zok
- Location: Revelstoke, BC
- Guide Op: CAPOW - Canadian Powder Guiding
- Years in the backcountry: 12
CHOOSING YOUR FIRST SPLIT
If you’re reading this, odds are you’ve been snowboarding for at least a few years now. You know what you like in a solid board, so you figure you might as well get something similar in a split version. Makes sense, right? Well, not so fast…
If you’re only going to own one splitboard, you want to make sure you pick something versatile. Conditions in the backcountry can be highly variable - you’ll need plenty of float for the deep snow we’re usually seeking, but also need to make sure that you can confidently hold an edge when conditions aren’t so friendly.
The ideal do-it-all splitboard should have the following...
- Setback stance - Binding inserts are further back from the nose.
- Directional shape - With roughly 15-20 mm of taper for float in powder.
- Camber under foot - This helps with traction while touring, and edge hold on firm conditions.
- If you're used to cruising park and groomers, size up! - If you're already hitting the trees, chutes and boot packing to your favorite stash, a more modest bump in size to accommodate for extra gear.
- For most riders, medium flex feels about right ... but rider weight and personal preference do play a significant role here.
- If you have big feet, consider getting a WIDE splitboard - This will prevent heel and toe drag, which is often a problem if your boot hangs out too far past your edges. On the flipside, if you are a smaller rider with smaller feet, look for a narrower waist width to make sure that you board isn’t slow edge to edge. Suffer from the drag? Read → Do I Need A Wide Snowboard?
- 10/10 riders agree! A lightweight splitboard is awesome for going uphill.
PRO RECOMMENDATION: What do you ride and why?
I ride the Weston Backwoods Carbon Split every day, regardless of conditions. It’s incredibly versatile, floats beautifully in powder, and has enough of a tail to feel solid when stomping big landings. It’s stiff enough to break trail well and charge downhill with confidence, but still retains enough flex to feel playful and sporty. Edge hold and skin contact is awesome thanks to the cambered profile, and its incredibly low weight makes it a great choice for the biggest, most challenging days of splitboard mountaineering. Really, it seems like there’s nothing this board can’t do!
Have sizing questions or need help finding the right splitboard model for you? Read → How To Choose Your Snowboard or Splitboard

WHAT KIND OF BINDINGS SHOULD I USE FOR SPLITBOARDING?
Spark R&D and Karakoram are the main options for bindings on the market today, both make a great product and I’d recommend either. Union and Voile also make split bindings and there are some other smaller companies coming into the market like Plum out of France.
PRO REC: I ride the Spark Surge - it’s a bit stiffer than the Spark Arc and allows immediate power transmission in ride mode. It is a fantastic binding that will last many, many years and well worth the price. Karakoram makes a really cool cross over binding too - the Prime Connect - that can be both a great resort binding AND a great splitboard binding. Both companies make amazing bindings and it is hard to choose one over the other, what you can get your hands on might be the deciding factor.
DO I NEED SPLITBOARD SPECIFIC BOOTS?
Many splitboarders do just fine with whatever boots they already own for the resort. However, if you’re in the market for a splitboard-specific soft boot, you’ll want to keep an eye out for features like heel welts for semi-automatic crampons, vibram soles, and protective toe caps - especially if you intend to spend a lot of your time chasing ski mountaineering objectives. ThirtyTwo, K2, Deeluxe, and Fitwell all offer splitboard specific boots. More than anything though, focus on just picking boots that fit your foot and suit your downhill riding style. Personal preferences vary a lot.
PRO REC: My advice is spend your money on other gear and buy splitboard specific boots once you really need them or decide yours won’t work. I use the K2 Aspect and it has held up very well over the years and has all of the features I’d like to see in a splitboard specific boot.
WHAT ARE THE BEST CLIMBING SKINS FOR SPLITBOARDING? Types of skins - Nylon, Synthetic or Mixed?
In a perfect world, your skins would be frictionless as they move forward along the snow during each step forward, and grip like hell once engaged - but in reality, you have no choice but to strike a balance between these two characteristics. There are two materials that the plush material on climbing skins can be made from: nylon and mohair. Nylon provides more grip, less glide, and is heavier. Mohair isn’t as grippy, but glides better and weighs less. It’s also possible to get skins that are made from a combination of the two (my personal favorite).
There are very high traction skins available made out of thick nylon but I wouldn’t recommend these to anyone. The extra grip may serve as a useful crutch when you’re first learning to splitboard, but you’ll outgrow them very quickly. They’re also extra awkward to slide downhill with, which has to be done from time to time. Skins made out of thinner nylon are a nice middle-of-the-road option for beginner skiers that aren’t completely dialed with their skinning technique. The skins I use are made out of 70% mohair and 30% nylon, and are a great choice for users with at least an intermediate level of touring skill.
Check out the Weston Custom Pre Cut Skins!

HOW TO TRIM YOUR SKINS AND CARE FOR THEM IN THE BACKCOUNTRY
Trim your skins so that when it’s on your ski, you can just barely see the entirety of the metal edge on both sides. In the field, you don’t need to bother using “cheat sheets” when you fold your skins up, nor do you need to place them in the bag they came with - these are just extra items to carry and steps to take that don’t really serve a purpose. If your skins are hard to separate, you can put them between your legs and use your lower body to assist you, or you can use the rigidity of one of your skis as something to pull against. When taking your skins on and off, try not to get snow on the glue - this will prevent it from sticking well. If your glue does get a bunch of snow on it, you can scrape it off using the edge of one of your skis or a dry pant leg.
If you’re traveling through snow that’s especially wet and soft (ie. hot pow baking in the sun on a spring day), it will probably start to stick to the bottom of your skins and make travel difficult. To combat this, you can rub skin wax onto the plush side of your skins - it’s not perfect, but it certainly helps. If the snow continues to stick, I’ll pick up my foot and whack my ski with my pole every so often as I walk, and maybe start swearing a little.
PRO REC: Pomoca Climbing Skins


