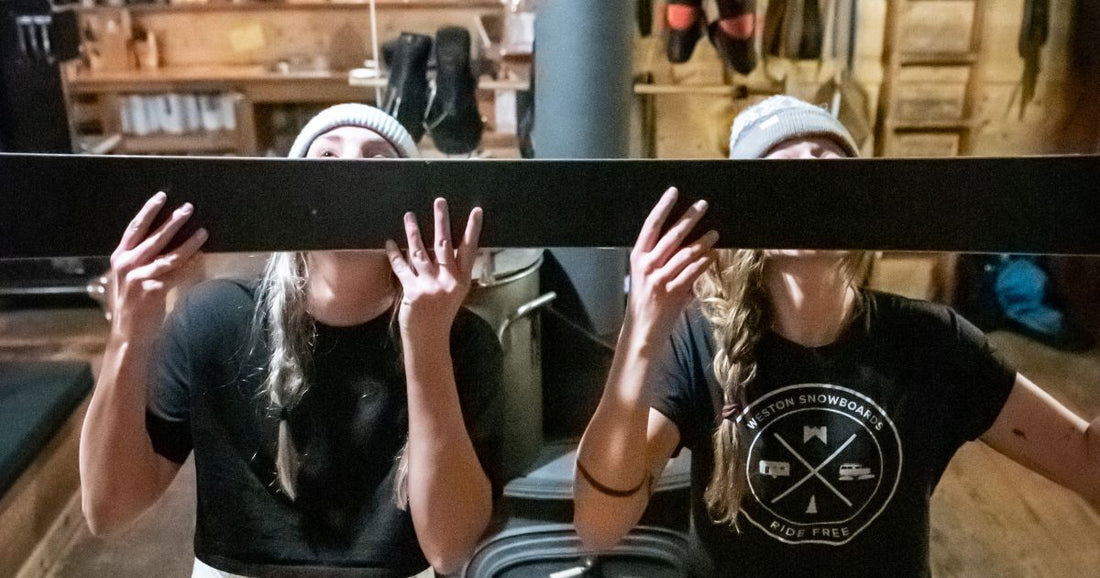
Weston Upcycle Series: How to Build A Shot Ski
In this installment of the Weston Upcycle Series, we're diving into the world of après-ski culture and showing you how to create every ski bum’s favorite drinking accessory, the Shot Ski! If you're ready to elevate your gatherings and make lasting memories with your crew, let's get started!
Step 1: Gather the Essentials
To build your own Shot Ski, you'll need a few key ingredients:
- A classic ski: Choose a well-loved ski or a vintage pair that has served you well on the slopes. This adds character and history to your shot ski.
- Shot glass holders (optional): If you are going to use a kit (available online), make sure you have all the components and whatever they require to make sure they are sturdy and securely attached to the ski.
- Shot glasses: Opt for shot glasses that are durable, easy to clean, and match your personal style. Bonus points if they feature outdoor-inspired designs or humorous winter motifs. We reused some shot glasses that came with the bottles from our friends at Tin Cup Whiskey to make ours!
Step 2: Prep and Personalize
Before you start attaching the shot glass holders, give your ski a thorough cleaning to remove any dirt or grime. If there are any stickers or decals on the ski, decide whether you want to keep them or give your shot ski a clean slate. Feel free to get creative and add your own personal touch with custom stickers, paint, or even a unique design. This is your chance to get weird and showcase your individuality and passion for the mountains!

Step 3: Placement and Alignment
Measure and mark the positions where you want to attach the shot glass holders or holes on the ski. Typically, shot glasses are placed evenly along the length of the ski, ensuring each participant gets a fair shot at the fun. Use a measuring tape and a pencil to mark the spots, ensuring they align perfectly. This attention to detail will make your shot ski look sleek and professional. Depending on the length of the ski, we recommend using between four and six shot glasses.

Step 4: Secure the Shot Glass Holders
Now it's time to attach the shot glass holders to the ski. You can use a strong adhesive or screws and washers for a more secure fit. If you opt for adhesive, choose one that is specifically designed for bonding metal to wood. Apply the adhesive generously and press the shot glass holders firmly into place, allowing them to dry according to the manufacturer's instructions. If you choose screws, drill pilot holes to prevent the ski from splitting, then carefully fasten the shot glass holders using the screws and washers. We opted to just drill holes into the ski to allow the shot glasses to be placed inside it, and then glued in place. Make sure your hole diameter is larger than the base and smaller than the mouth so that the shot glass won’t just slip through the ski.

Step 5: Test and Celebrate
Once the adhesive is fully cured or the screws are tightened, your Shot Ski is ready for action! Assemble your crew, pour your favorite libations, and let the good times roll. Remember to celebrate responsibly and ensure everyone participates safely.
Building your own Shot Ski is a fantastic way to infuse fun and camaraderie into your gatherings. By repurposing a beloved ski, you’re not only keeping that ski out of the landfill but creating a one-of-a-kind centerpiece that embodies your spirit of adventure and shared experiences. So, gather your friends, raise your glasses, and toast to the memories you'll create together. Cheers, and go forth and slay the après!


